|
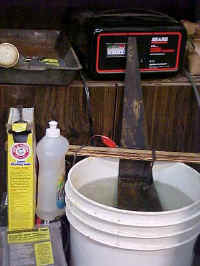
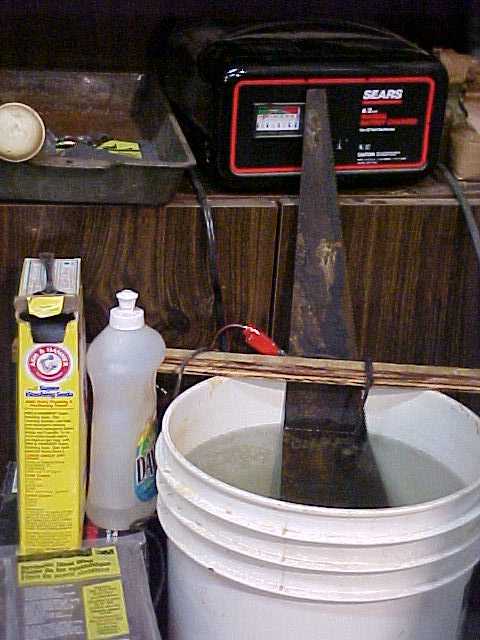
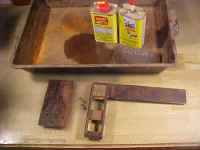
Electrolysis Setup and Supplies
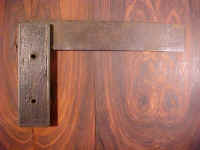
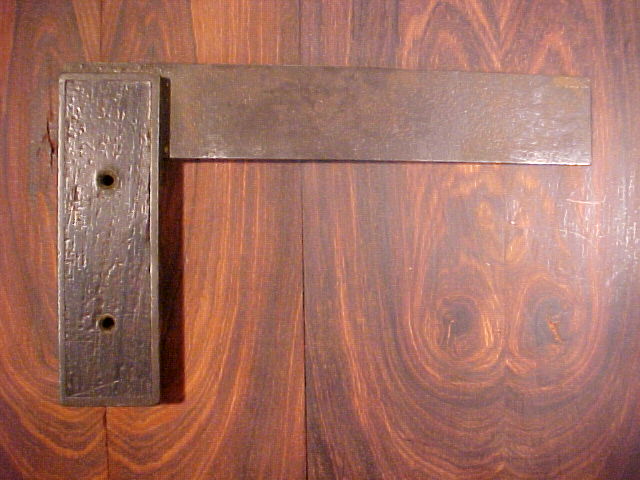
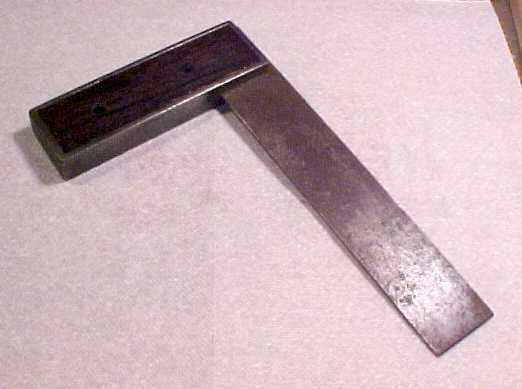
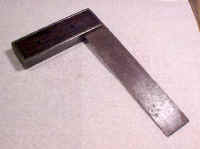
Rusty Stanley No. 10 Try Square
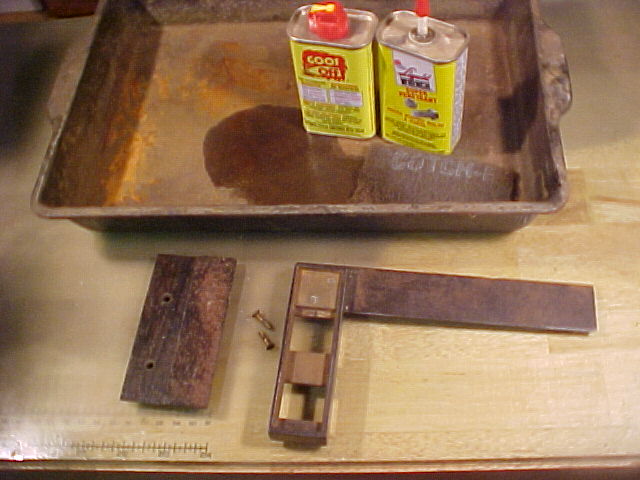
Clean Away Grease & Grime First

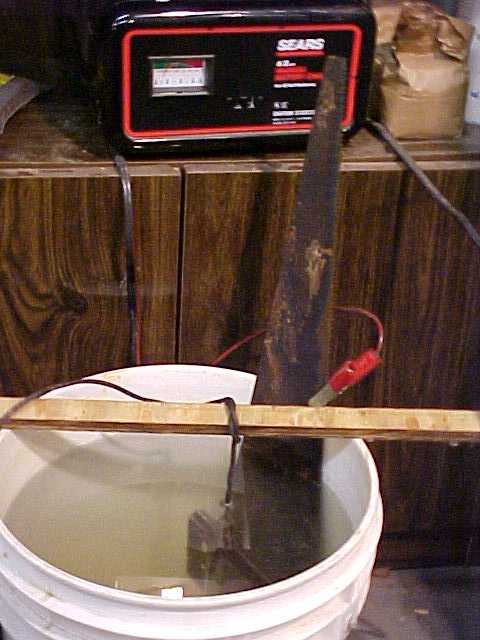
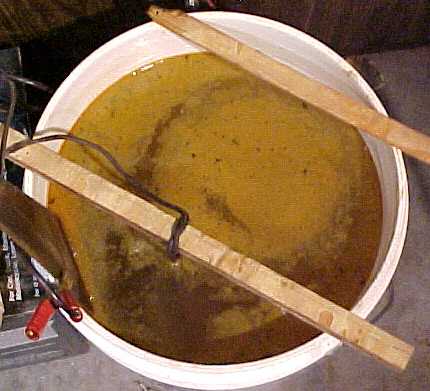
Try Square in Electrolysis Bath
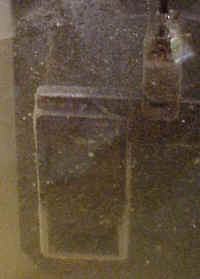
Hydrogen Bubbles Froming on the Handle of the Try Square

Foam Pattern on Surface of Solution
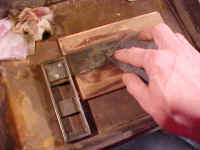
Gently
Rub Away Sodium Oxide
No. 10
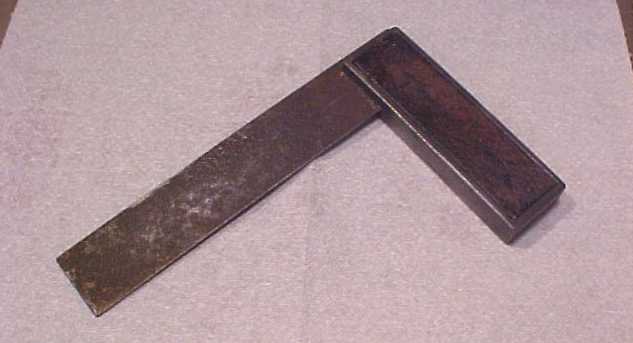
Try Square After Electolysis
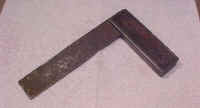
Note
Pitting cannot be restored |
|
Rust Removal via Electolysis
Given herein is a description of
methods and processes, and procedures that can be used to remove rust from
antique tools. The techniques given here can also be used for any small
metal object. The process I use is that posted in detail by Nathan
Lindsey(1998). Given herein is a demonstration/summary of the
"Electrolysis" technique as presented by Lindsey.
Required Setup and Supplies
- Non-conductive plastic container
- Two to Six Amp auto battery charger
with amp meter
- A relatively flat piece of iron,
steel, or stainless steel (I use a hand saw blade I got at a garage sale
for $1)
- A box of Arm & Hammer "Washing
Soda"
- Tablespoon measure
- Water
- Pair of kitchen gloves
- Non-metallic 3M Scoth Bright
Finishing Pads product #10144NA
- Old tooth brush
- Johnson Paste Wax
- Roll of paper towels
- Old dishwasher detergent bottle
filled with water
- Fan if performed in an inclosed
space.
Connect the positive (+ or red ) cable from the
battery charger to the scrap saw blade ( sacraficial anode )
and connect the negative (- or black ) cable to the rusty tool
as shown in the figure. Ensure that the scrap steel and rusty tool
are not touching and the room is well ventelated before turing on battery
charger. Typically the charger will indicate a current of one or two
amperes. This is normal for a small tool such as a try
square.
After the current is applied a red substance named
ferric oxide is formed on the sacrificial anode and typically clouds the
solution into a red murky mess while percipating to the bottom on the
tank. At the surface of the rusty tool Hydogen bubbles are formed and the
oxygen in iron oxide (rust) in converted to sodium oxide.
|